
Learn How by Clicking on READ MORE
Step One: Select the Iris. You are going to do this through the Quick Mask Tool. Click the button that is being pointed to in the jepg below (or you can press the Q key) to enter into Quick Mask Mode.
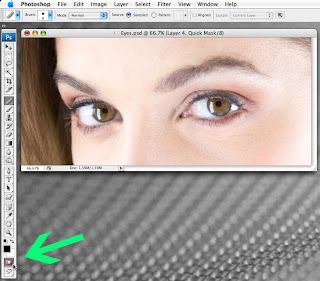
Next you will want to select your brush tool, (make sure your color swatches are set to black and white) and start painting. You should be seeing a red film over the area that you are painting.
It is my personal preference not to include the pupil and reflections in the selection because changing the color in those areas will make the eye color look less real.
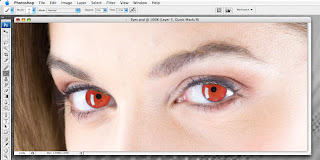
Now that you have your selection, you need to take a few steps to actually select the area that you want to change. First, you need to press the Q key to exit Quick Mask Mode, then you need to go to the Select Menu and press Inverse.
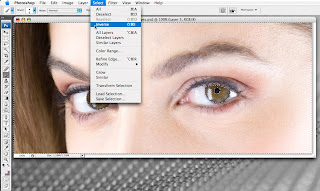
Now your selection should look like this.
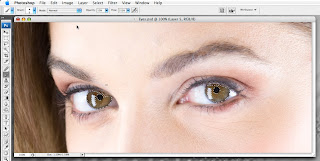
Step Two: Change the color. From your adjustment layer drop down menu, select a Color Balance layer.
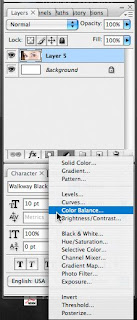
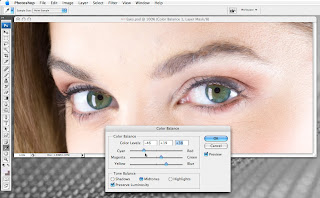 Here are the eyes with the color adjustment made.
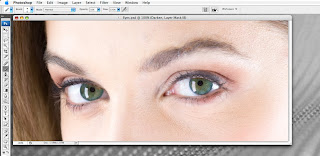
Step Three: Add contrast and dimension to the eyes. You are going to make two curves adjustment layers.
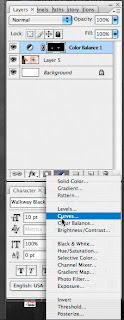
One where you are going to lighten the midtones (name this later lighten) and another where you are going to darken the midtones (name this layer darken).
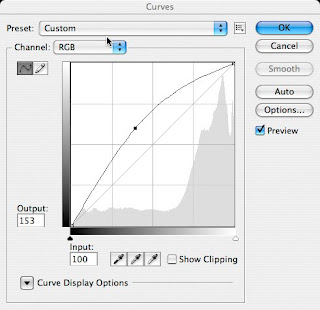
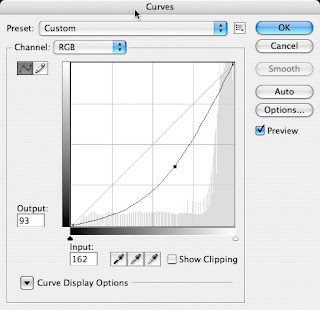
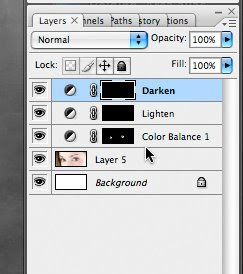
Then you are going to option click the mask button on both of the curves adjustment layers on your layer pallet. This will hide both curves adjustment layers so you will not be able to see them. This is what your layers should look like.
With your lighten curves layer selected, paint with white on the mask in the inner part of the iris to reveal the lighter color. This is what your mask should look like.
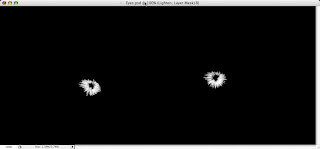
Now with your darken curves layer selected, paint with white on the mask in the outer part of the iris to reveal the darker color. This is what your mask should look like.
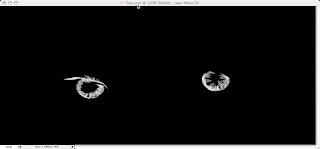
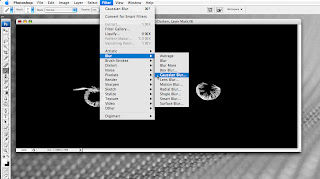
The darken layer on my eyes was a little harsh so I threw a Gaussian Blur on it at about a 3 or 4.
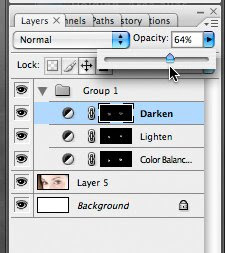
Now I am going to decrease the opacity to around 60%.
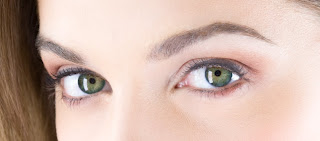
Here is the finished image! Congratulations!
Please post your comments by clicking the link below. If you've got questions, please pose them in our Retouchers and Retouching Discussion Threads.
READ MORE (Full Post and Comments)


