Click after the jump to see how I did it!

Step One: Use the clone stamp tool to erase the lines off of the image. Because of small shadow differences in the colors, you'll want to choose a reference point that is as close to the part that you are painting over as possible. Use different size brushes and different opacities to make it look more realistic.
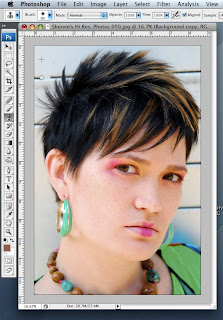
Your image should look like this when you have gotten rid of the lines.
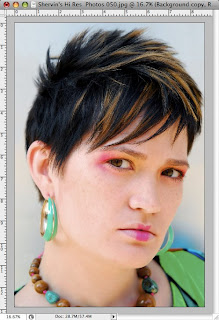
Step Two: Select piece of hair. What I did here was to go into Quick Mask Mode (by pressing Q on your keyboard)to select a tress of hair that I could copy and paste into the area where the client wanted filled.
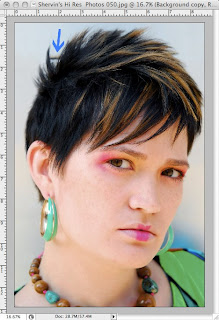
Hit the B button on your keyboard to select your brush tool and paint at 65% opacity.
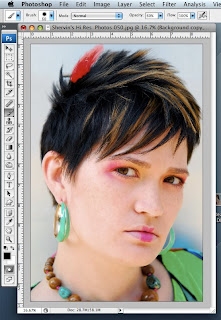
NOTE: When you are in Quick Mask Mode, your layers will be highlighted in gray, not blue.
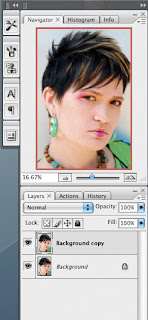
When you are done painting in your QM Mode, you can then hit Q again to exit Quick Mask Mode, and go to Select>Inverse to inverse your selection so that the piece of hair is selected.
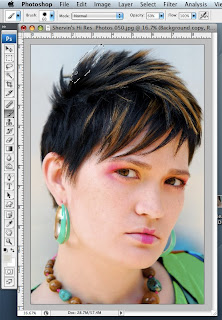
Step Three: Place hair piece. While you have the piece of hair selected, press Cont/Comd C to copy the selection, and then Cont/Comd V to paste it.
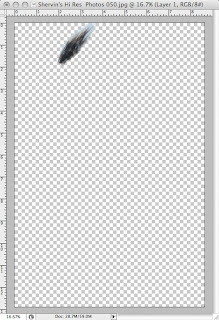
You can then press Cont/Comd T to transform the selection and move it into place. If you work better with the lines hidden, you can press Cont/Comd H to hide the lines. Use your arrow keys to move and adjust the placement of the piece of hair.
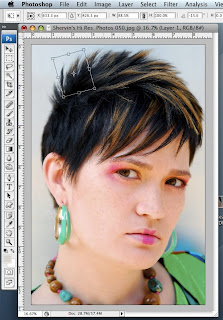
Here is the final image again. Congratulations!

Please post your comments by clicking the link below. If you've got questions, please pose them in our Retouchers and Retouching Discussion Threads.


1 comment:
Useful and splendid tutorial...
Regards,
SBL Digital Image restoration
Post a Comment