
In this post I will concentrate on the changes you can make to the eyes of a person that suggest off camera lighting when the only lighting was actually a flash mounted on camera.
Step One: Brighten the whites:
This allows for the illusion of more light hitting the eyes. You will need to hit your Q key to enter into quick mask mode. Then paint with the brush tool (the harder your edge, the harder/less feathered the edge of the selection - so use a soft brush). Once you have colored in the eyes red, you will want to hit the Q key again, which will take you out of quick mask mode. Then you will need to invert the selection so you have the eye whites selected (do so using Select>Inverse). Once selected, you can use the mid times slider in the levels or curves window to lighten the whites.
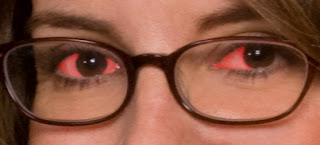
Step Two: Brighten the eye color:
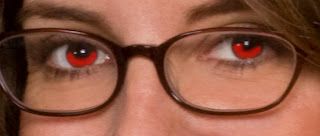
Select the bottom part of the iris with a half moon shape (see step one on how to select the area) and brighten the midtones using levels (Apple L) or curves (Apple M).
Note: If you would like to play around with the color/saturation of the eye color itself, use the Hue/Saturation (Apple U) window.
 Step Three: Remove the flash reflection:
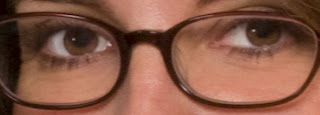
Every photographer knows that when you take a photo of someone using a flash while they are looking at you, you are going to have a reflection of that flash in the persons eyes. That is a tell tale sign of on-camera flash, and you need to remove that evidence. Use the clone stamp to remove the larger of the two catch lights in the pupil of the eye. I like to use my clone stamp tool at 65% for this and make sure that you sample an area inside the pupil so the colors match.
 Step Four: Make your own off-camera catch light:
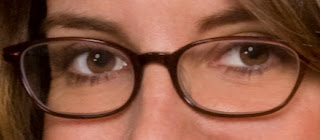
I tend to use the paint brush tool for this next step. You want to sample the color of the small catch light that we left in the eye, and use that color (or a little lighter) for the larger catch light. Paint in your catch light into both eyes and make sure they match.
 Step Five: Blur the catch light:
You will want to then blur the catch light a bit so that you can't tell it was painted into the photo. Blur using the blur tool on your tool pallet.
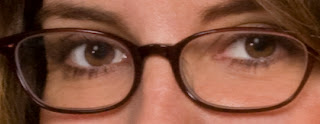
Here is the final close up of the eyes again: Great Job!

Please post your comments by clicking the link below. If you've got questions, please pose them in our Retouchers and Retouching Discussion Threads.


No comments:
Post a Comment